Seven photo tips for the Abraham Lake bubbles
The bubbles at Abraham Lake look simple until you point a camera at them and get a sheet of white glare. A few habits fix most of that, and none needs expensive gear. These seven tips work for a camera or a phone, on a tour or on your own.
1. Cut the glare with a polarizing filter
Clear ice reflects the sky like glass, and that reflection washes the bubbles out. A circular polarizing filter removes much of it and lets you see down into the ice.
Turn the filter slowly while watching the screen until the surface goes dark and the bubbles stand out. Clip-on polarizers for phones exist too, and they help more than any editing app.
A polarizer works hardest when the sun is off to one side of you, and less when it sits straight ahead or behind. If the effect seems weak, turn your body a little and try again.
2. Shoot down at an angle, then lie flat
Standing and pointing straight down gives you a flat white pattern with your own shadow across it. Step back and shoot at an angle, so the columns of bubbles show their depth layer under layer.
For close-ups, lie on the ice with the lens a few centimetres above the surface. Waterproof pants make this far more pleasant; our clothing guide has the rest of the kit.
Wipe the lens before each close-up, since breath and blowing snow fog it quickly. Breathe away from the camera when you lie that close to it.
3. Go wide and bring the mountains in
A close-up of bubbles could be from any frozen pond. A wide-angle lens with bubbles in the foreground and peaks on the horizon tells people exactly where you were.
Get low and put the nearest bubbles at the bottom of the frame, with the horizon level. Many phones have an ultra-wide lens that handles this shot well.
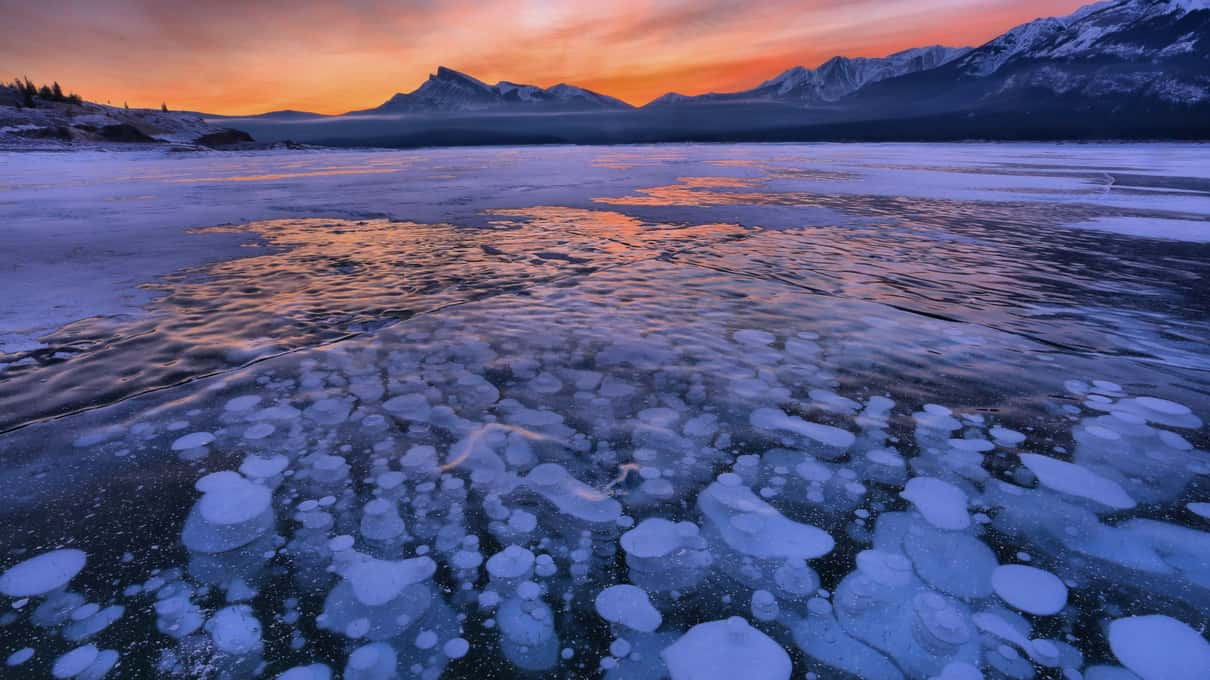
4. Chase side light at sunrise and sunset
Low sun hits the ice from the side and lights the bubbles from within, while the sky turns pink or violet behind them. Midday light from high overhead is flatter and brings more glare, and heavy cloud can take the side light away entirely.
Tours from Banff reach the lake around late morning or midday, so sunrise shots usually need your own car and a night in Nordegg or nearby. Our guide to driving there yourself covers that trade, and the season guide lists rough sunrise and sunset times.
An hour on the ice with a guided walk
Rockies Journey sets aside roughly an hour for a guided walk on Abraham Lake, and its Bow Lake and Peyto Lake stops get thirty minutes apiece. The van takes up to 24, so you share the good spots, and the hour is fixed whatever the light does.
5. Brush the snow away gently
A thin dusting of snow can hide a patch of bubbles completely. Sweep it aside with a gloved hand or a soft brush, working outward from the spot you want to shoot.
Never scrape with a metal tool or an ice axe. Scratches turn clear ice cloudy for everyone who comes after you, and a hole into a bubble releases flammable methane; see our ice safety guide.
Some days the snow is too deep to clear by hand, and no technique fixes that. Bubbles are never guaranteed, so treat a clear patch as luck rather than a promise.
6. Keep spare batteries warm
Cold drains camera batteries far faster than usual, and one can die in the time it takes to set up a shot. Carry two spares in an inside pocket and swap them as each one fades.
A battery that looks dead often comes back once it warms up again. When you return to the van, leave the camera in its bag for a while so condensation forms on the bag rather than the lens.
7. Phone settings that help
Phones tend to brighten white ice into a blown-out sheet. Tap on the bubbles to focus, then drag the exposure slider down a little until the white discs keep their edges.
Hold the lens close to the ice for the deep columns, and turn off the flash, which only bounces back off the surface. Shooting in RAW, where your phone offers it, gives you more room to recover the shadows later.
A cheap phone grip with a wrist strap stops a cold-numbed hand from dropping the phone on hard ice. It also lets you lean out over the bubbles with less worry about a slip.
Before you leave the ice, check a few shots at full size on the screen. Glare and soft focus are easy to miss on a small preview and impossible to fix at home.
Which tour suits photographers
Light and time on the ice matter most. Radventures at ~$187 keeps the group to ten with a guide trained in photography and storytelling, and the guide plans the route on the day. It costs more than twice the vans and picks up only in Banff and at Samson Mall in Lake Louise.
Rockies Journey from ~$93 and Vancouver Journey from ~$78 cost the least, with up to 24 people sharing the ice. Our comparison of big vans and small groups and the price table set the options side by side.
Top Choice Tours from ~$121 sits between the two shapes, with up to 13 guests and cleats included. Its route bends to weather and road conditions, and the listing says bubbles cannot be guaranteed. The day from Calgary is also the longest of the four.